Categories
Cool Stuff Engine pictures Restoration Upgrades

Motor Rebuild Part 1

Long time for an update but I’m going full steam to it right now..

I started putting the rods on the crank shaft only to find that the bearings supplied were undersize.

But it was ok, the guys at V&T did a good job so the main bearings were .25 and so are the rod bearings, just a pain in the ass.

Here is a video of what the issue looked like:

[HTML1]

Anyway i went to Euro Imparts on main north road (enfield) at lunch one day and picked up the correct size bearings.

Here is a video of how it should look:

[HTML2]

Yes i do realise that the rods dont spin as freely as you would normally see if i were to lube with oil, but i am lubing with molly grease

that is a little stickier (but offers great protection when your gaining oil pressure when turning it over for first time

(note not turning over with spark plugs attached).

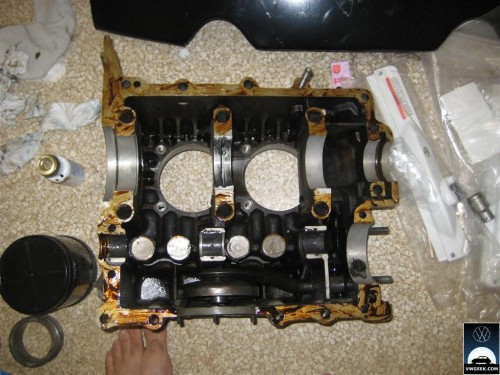
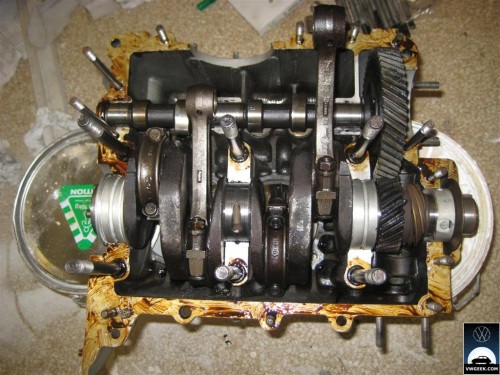
Below we have the inside of the case all put together and ready to go.

Thats the permatex aviation sealer around the outside, almost a perfect equivalent to the sealing liquid they used in 1968 when they built the motor.

img_6344

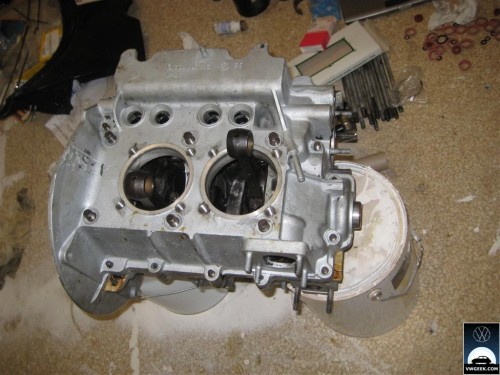
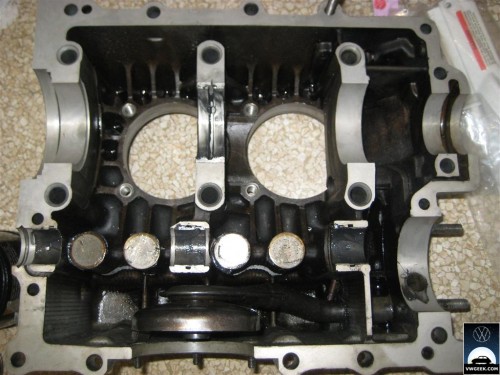
The other side of the case Moly lubed up with lifters in ready to bolt back together. (don’t forget the oil (return?) thingy down the bottom otherwise you could be in a very bad place 😉 )

img_6345

More aviation Sealant on this side (i really want as few leaks as possible)

img_6348

Case is together (Some of you may have noticed it obviously was a 1500 single port in the beginning of its life, and somewhere along the way (80-90’s) it was changed to a 1600 Dual port).

img_6349

Now to bolt the halfs together.. but wait the bolts have been misplaced during my house move.. but stress less i have a new engine hardware kit coming in the mail. Will keep you all updated.
Categories
Cool Stuff Generic Restoration Upgrades

New bonnet hinges (Installation)

Further to the Previous post, i thought i would document the steps i installed the bonnet hinges on with. (please excuse the car as its in the middle of being done up).

img_4619

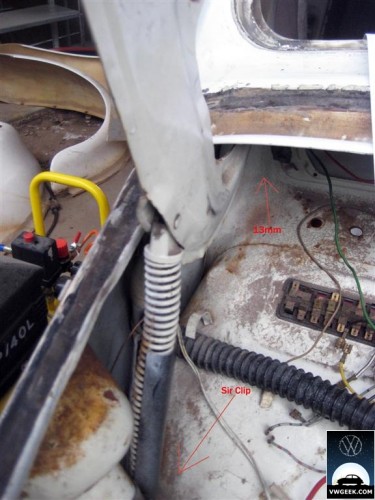
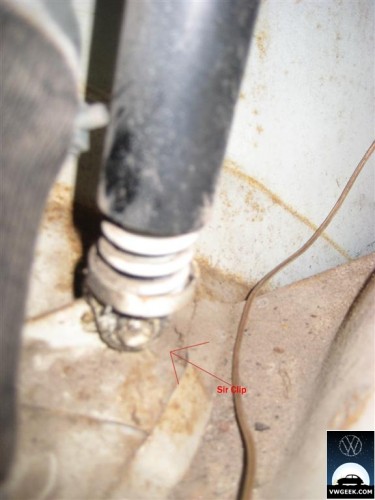
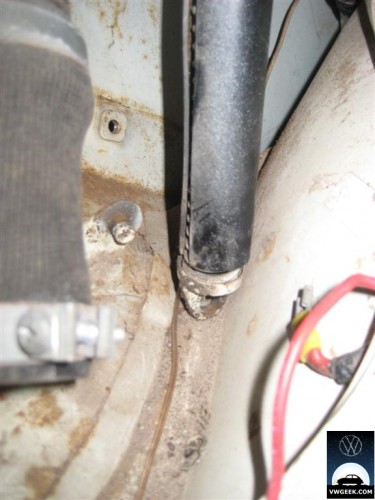
The above pic is just showing what and where the securing bolt and sir clip are. (I have removed the bonnet first to make life easy.).

img_4621

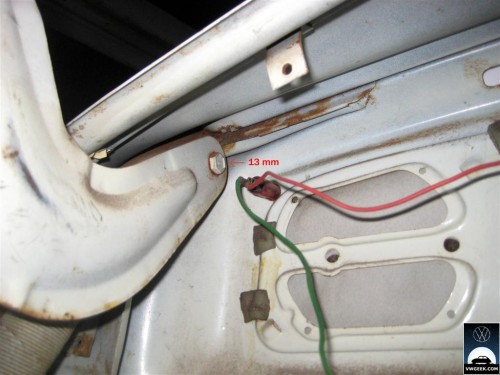
The above pic is a closeup of the 13mm bolt that needs removal.

img_4617

This is a closeup of the Sir Clip on the bottom of the original hinge.

img_4620

Above is a pic of the Cir clip off and the bonnet hinge bottom bit removed.

img_4623

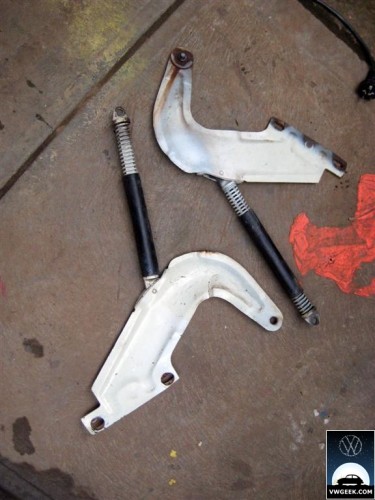
Both stock hinges are now removed.

img_4624

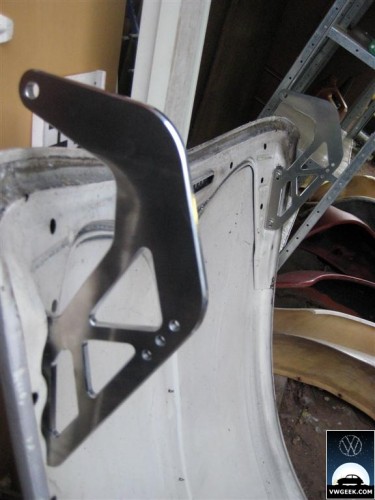
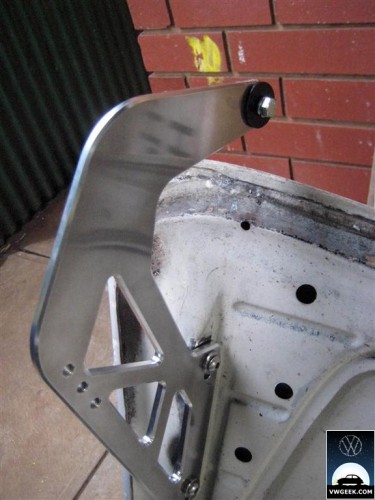
New shiny shiny hinges attached to the bonnet. You can see the three adjustment holes for the bonnet to open different amounts (i ended up using the smallest one as it would just clear and i didn’t want to stuff around re adjusting).

img_4627

This is a closeup of one of the hinges with the new 13mm bolt (unsure if this is the correct side for that black spacer but it worked in the end :P)

img_4628

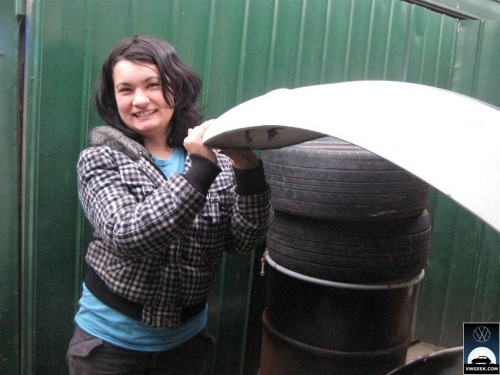
You need someone to help you hold the bonnet whilst you do up the nuts (otherwise you can expect to loose some fingers), Hi Joanne (My other half)

img_4629

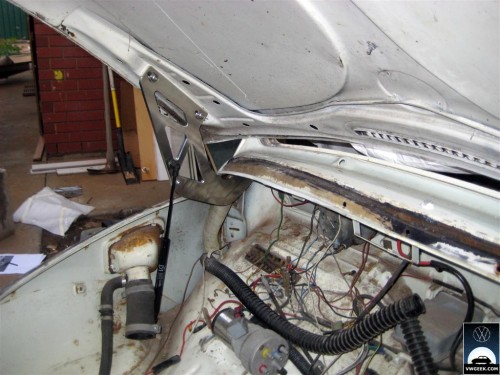
Gas strut installed on the Left. It just pops into the hinge and pops onto the original hinge mount on the bottom (the one with the sir clip)

img_4630

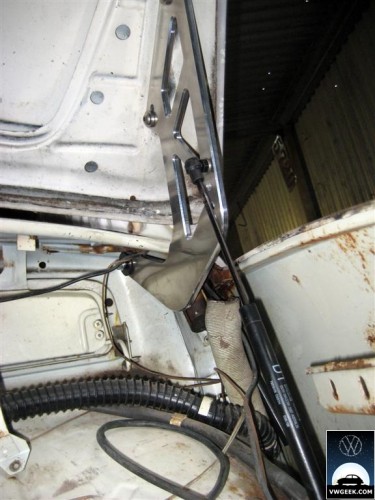
Closeup of the RHS, again looking good (unlike the rest of the inside of the bonnet.)

[HTML2]

Here is a quick shot of how hot it looks opening and closing.

Now again i will apologize for the state of the car as I’m working on it as i get money and time, the car detracts from the awesome hinges. Again i cant say enough about them ;).