Further to the Previous post, i thought i would document the steps i installed the bonnet hinges on with. (please excuse the car as its in the middle of being done up).
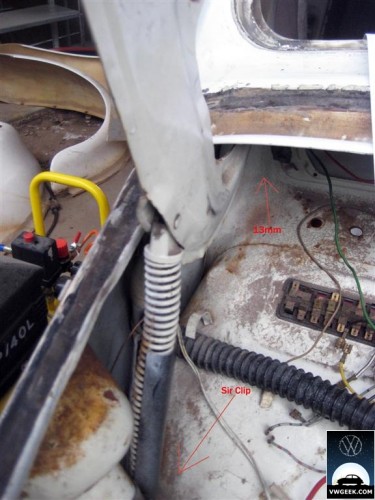
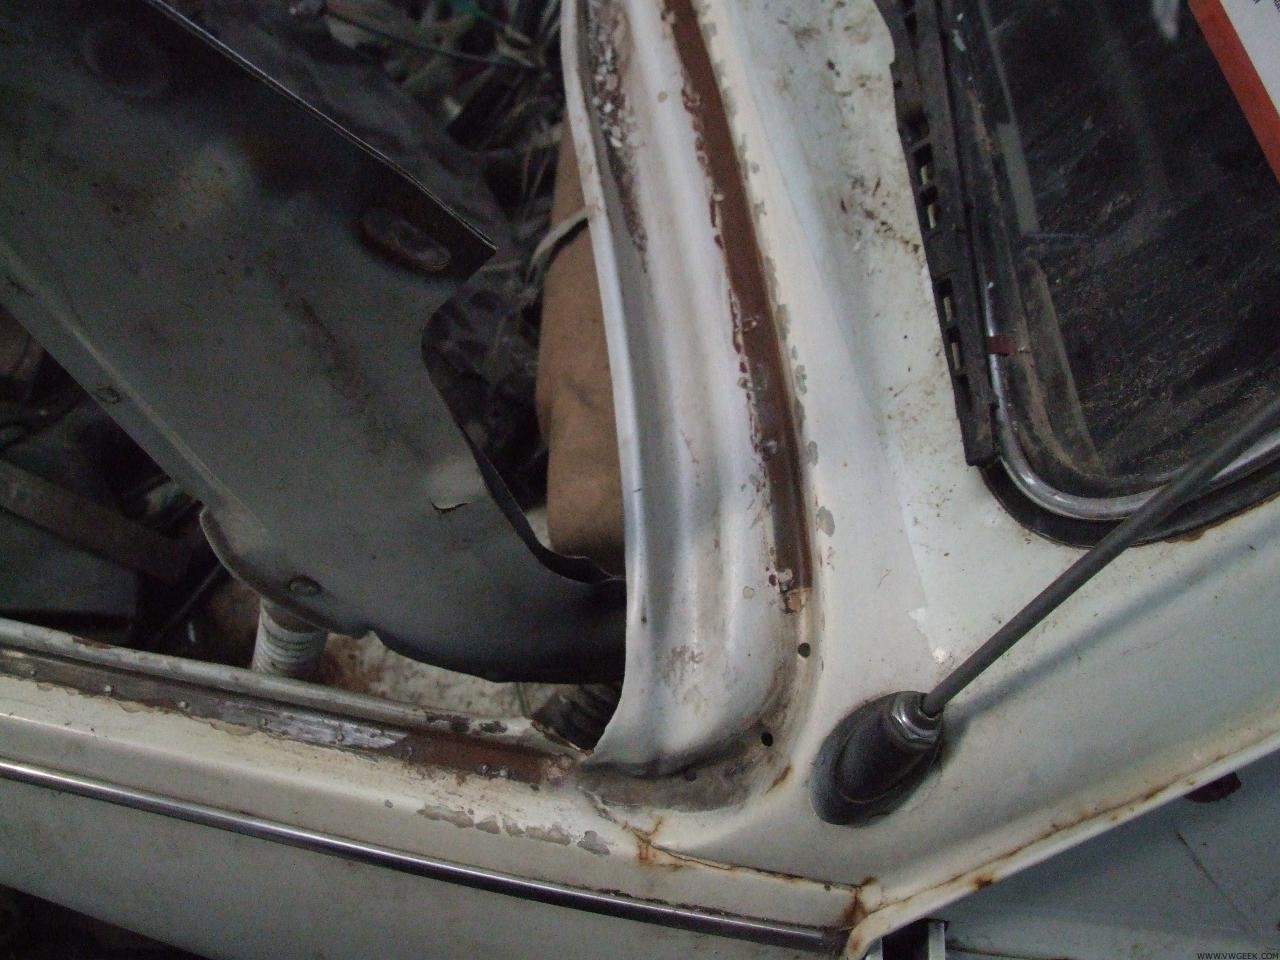
The above pic is just showing what and where the securing bolt and sir clip are. (I have removed the bonnet first to make life easy.).
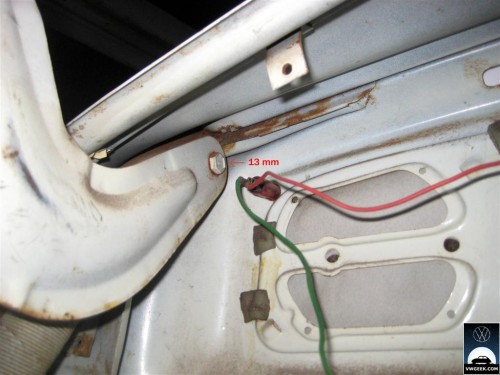
The above pic is a closeup of the 13mm bolt that needs removal.
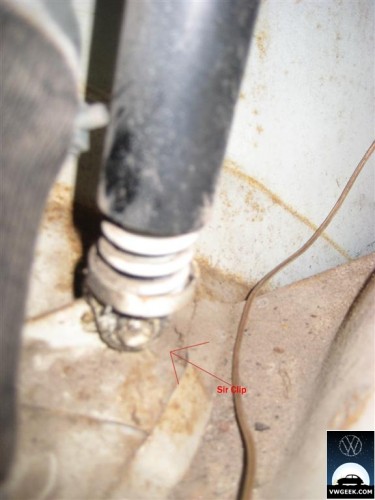
This is a closeup of the Sir Clip on the bottom of the original hinge.
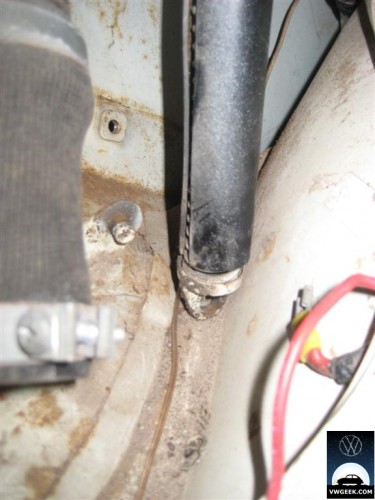
Above is a pic of the Cir clip off and the bonnet hinge bottom bit removed.
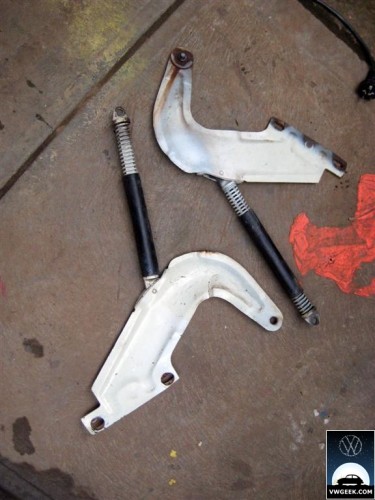
Both stock hinges are now removed.
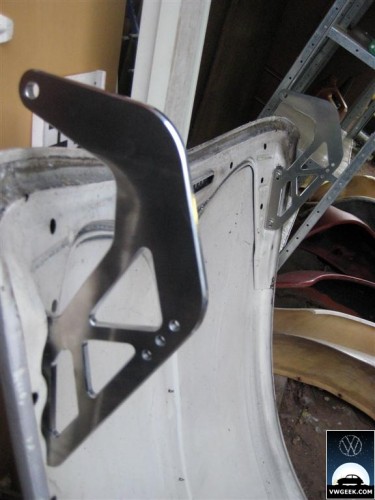
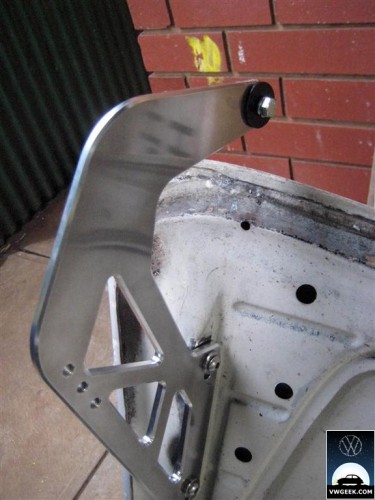
New shiny shiny hinges attached to the bonnet. You can see the three adjustment holes for the bonnet to open different amounts (i ended up using the smallest one as it would just clear and i didn’t want to stuff around re adjusting).
This is a closeup of one of the hinges with the new 13mm bolt (unsure if this is the correct side for that black spacer but it worked in the end :P)
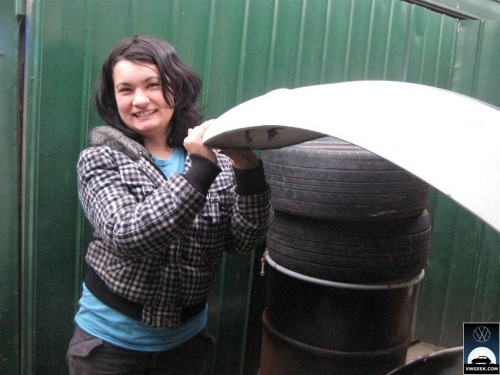
You need someone to help you hold the bonnet whilst you do up the nuts (otherwise you can expect to loose some fingers), Hi Joanne (My other half)
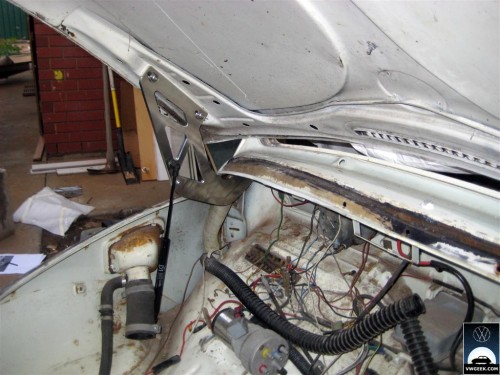
Gas strut installed on the Left. It just pops into the hinge and pops onto the original hinge mount on the bottom (the one with the sir clip)
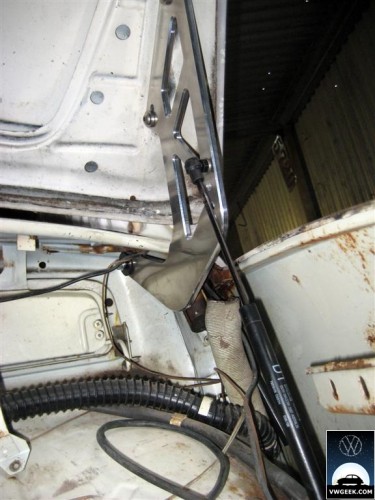
Closeup of the RHS, again looking good (unlike the rest of the inside of the bonnet.)
[HTML2]
Here is a quick shot of how hot it looks opening and closing.
Now again i will apologize for the state of the car as I’m working on it as i get money and time, the car detracts from the awesome hinges. Again i cant say enough about them ;).
