Archive for the ‘Auto Stick’ Category

Nov-7-09

Sept – Oct – Nov Pictures

posted by eraser

Sorry again for the wait, but its worth it.

Thanks again to the following people for the pictures; Mark Paine, Bruce Walker, Jordan Muller, Andrew Snell, Glenn Kirkham, Kris Farrant, Allen Appleby and anyone else who sent out pictures, also thanks to the sites where some of these have been collected from..

Oct-4-08

Another beetle? Autostick issues?

posted by eraser

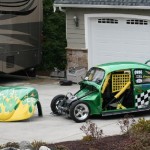
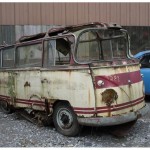
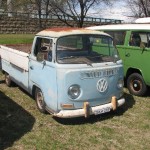
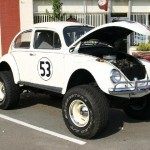
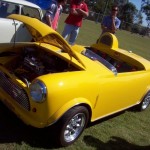
Well i guess the VW bug has bitten me, And i saw another Automatic stick shift beetle on ebay and grabbed it for $750. Good body, its a 70’s model with early 60’s guards. The story of getting it is pretty funny, I went to pick it up and the guy comes out telling me it doesn’t have a battery.. so off i go and grab a battery (even though a battery was there the day before), come back get in start her up and oh its out of petrol… Man i couldn’t believe it so off i went and got petrol. So finally I’m on my way chugging along at a nice 50kph when bang the front left tire came off, turns out that all the bolts on all the wheels were undone, luckily enough i had the right socket with me and did it up and brought the new beetle home.


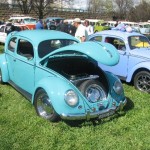
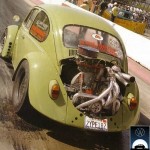
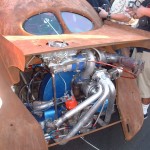
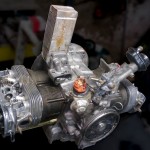
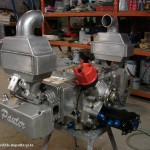
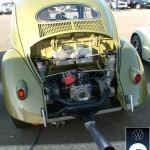
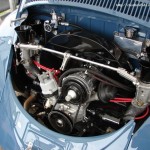
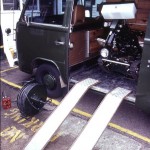
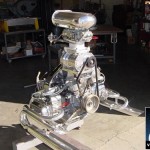
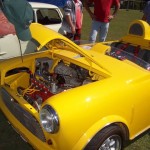
The motor a bit of a mess (i took the oil cooler off), the automatic choke and cutoff solenoid were unplugged as well as a few of the autostick pipes were falling apart. So slowly getting her back to what she should be. Changed the oil that was disgusting piles of silt on the sump plate and when i touched the oil i could feel the dirt in it (yuck).

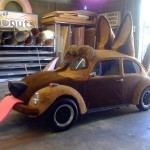
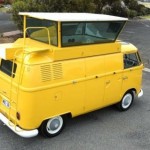
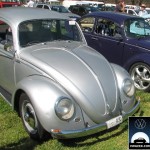
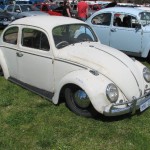
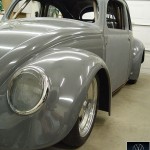
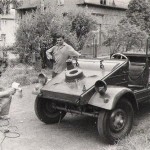
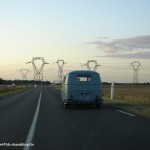
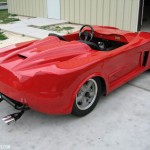
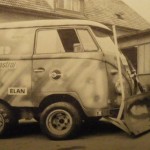
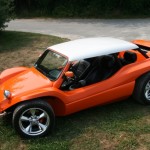
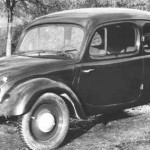
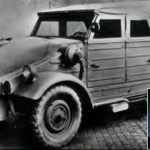
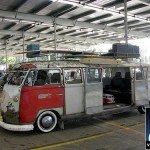
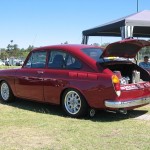
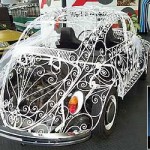
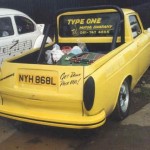
Just a picture showing the paint work, i get the feeling that the paint work was one of those rattle can jobs but it looks bloody good.

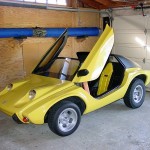
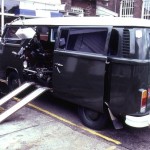
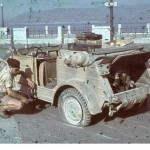
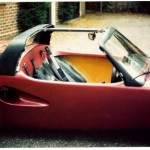
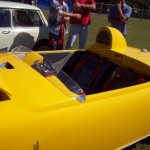
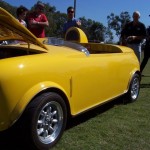
The brakes felt like they had air in them and after about 30 minutes of shouting “stop” “pump” to my girlfriend we had the air out (thanks to the back right drum), i continued on around the car getting any and all air out and any crap that was in the lines too (a lot of crap the fluid was black on some and white on others :S) {P.S look at how bald those tires are, will need some new ones}

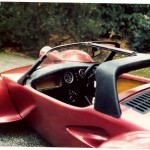
Had finished doing the back left wheel getting the air out when the actual nozzle snapped leaving part of it in the brake, luckily for me it is broken off in the closed position and isn’t leaking brake fluid, i will need to take this somewhere to get fixed at some point. (yeah please forgive my car on bricks and wood the actual axel stands are up with my other beetle.)

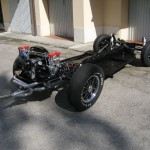
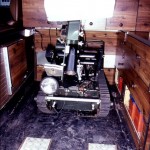
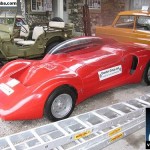
Just me firing through the gears while she is on blocks. What am i going to do with it i don’t know yet. Was originally for parts btu shes in such good condition its a shame.

Sep-7-08

Pan work part 2.

posted by eraser

Looking back those previous photos looked kind of crap, so i thought i would take some more to show you how it really looks now its been painted twice and finished off.

So here you can see the pan in its nice red oxide coating, with the blacked out seat rails (as this is the part you can see through the carpet).

Closer view of the front

Coolies and that’s it for now before i lay down the new underlay, i didn’t need to paint the tunnel bit as it was fine but i may do it later as a just in-case. You can also see the cable that hooks the gear selector to the automatic clutch.

That’s it for this topic.

Aug-26-08

Motor out and pulling apart.

posted by eraser

There she is, on the great trolley dolly.

Tinware off, these photos arent just for you people out there they are for me so i can remember where everything went ;)

The infamous flex plate and its nut 36mm (grabbed the socket ordered in for me at sprint auto parts was only 25 bux). I found out that this is under 230 ft pounds of torque, so no normal torque wrench can undo it or even do it up. But first problem first, when the gland nut spins the whole flexplate spins, there exists an official tool to help you out here (i saw one for sale but it was $100usd) i decided to make my own.

So i used the original bolts that held the torque converter onto the plate and then just bolts that fit into the engine mount holes, I used 2 of them diagonally across from each other, but i would suggest maybe having 4 cause its fairly easy to bend and i almost did bend it.

Getting the gland nut off was killing me i couldn’t move it with 2 people helping (aka jumping on an extension for the ratchet), I decided to go out and buy a 1/2″ air ratchet (nice big bastard). I wasn’t sure if it would work we tried it and there was nothing, i went to the compressor and red lined the air, and sprayed WD40 on it with about a 30 second burst i saw the tiniest of movement, left if a few seconds and gave it a second go, pop off she came with much rejoicing.

At the same time i will talk about the supposedly easy removable pulley, i bought one of those pulley pullers after much searching, i gave it a go the puller creeked and the puller snaped in the middle, i thought “doesn’t anything happen the way it should” then i reminded myself its a VW. I grabbed 2 heavy duty G clamps and a big piece of flat steel, and started doing the clamps up, the metal bar bent, cut it in half and doubled it up and gave it a go and finally pop out it came.

Finally in pieces, take note when pulling the automatic oil pump and normal oil pump out make sure you got both pieces out of the engine (other wise its a bit hard to pull the case apart. Also the oil strainer under the engine sump also appears to come out ;)

So this is the inside of the crank case where the bearings sit.. now the one on the LHS is worrying me and looks fairly worn. 

Now am i looking for a reconditioned case? or can i grab some fine wet/dry sandpaper and carefully take it back a bit? Any help would be great.

That’s all for now, several cool new topics on there way.

Aug-20-08

Front Seal and rust.

posted by eraser

Okies first sign of rust on my little 1968.

This rust was under the front bonnet seal (or was the front bonnet seal) i grabbed a Flathead screwdriver and a nice trusty hamer and broke all the tacks off the front seal.

I will grind these down to nothing, now alot of you are thinking ok how does the rubber stick on the bonnet now, well the mexicans in their wisdom have designed a seal that sticks to the bonnet itself (ETA unknown).

Ground down nice and flat, used a wire brush on an angle grinder to do it (well to be honest father took over that job and did a great job)

Put bristle’s rust converter on the rust and man does it do an amazing job (later found out the fumes are cancer causing), But can i please note if you do this dont do it near somewhere where your workign, this black stuff gets all over you and it takes days to get it off (and never off your clothes).

Also found out they made rear mexican seals so off came the rear seal. Also in this picture you can see the shithouse job the repair shop did painting and bogging the rear apron.. (not a big issue you will see why soon). In this picture you can also see the ATF tank.

The damn black rust converter

Tags: , ,