Now as a big surprise to me the flooring in the beetle was still stock, And if you have never seen what VW used to noise deaden take a long look.

It is a Tar with Styrofoam noise deadening thing that is glued or tarred to the pan, Now i gotta admit this stuff has done its job stopping any major rust, but through out the years water has gotten under it and just created surface rust.
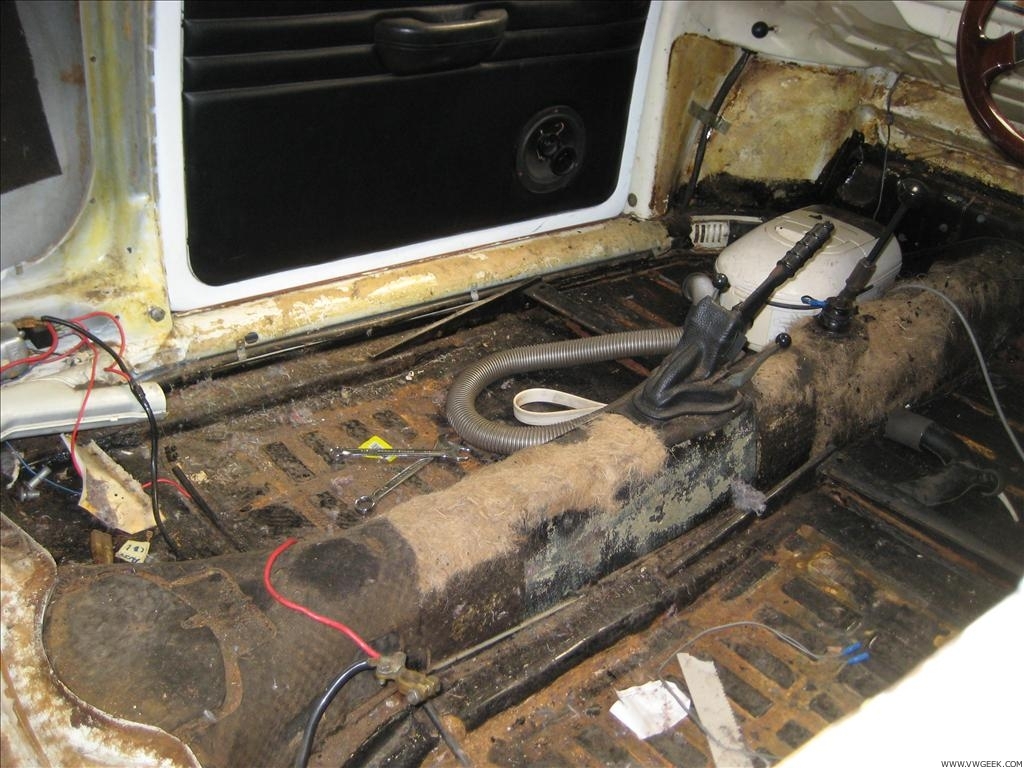
 This stuff is a bitch to remove as you can see i have a chisel and a hammer and spent 4 hours or so removing every bit of this stuff from the drivers side.

You can see the surface rust but the pan is still basically stock black coated…. but wait whats that near the battery …

Oh man thats a hole in the floor, i was like ahh crap does that mean a whole new floor pan, but luckily for me father is a boiler maker welder and just said ahh that’s just the battery acid eating through the floor after a bit of cleaning up we could see its only the hole the rest is solid.

My superior lamp and many tools that are really useful.
The next day i went out and bought a Air powered chissel this reduced the time it took to remove this stuff from 6 hours to a little over one hour.. and i really enjoyed that part 😛

Filled this bucket up several times 😛
Over all the pan is in great health, will get back to the hole patching later


