Categories
Uncategorized

Pan work rust -> gold or silver :P

Welcome once again another quick update on the progress of the beetle, As you may have seen previously I pulled the body off the pan and now have a chance to check the pan after some fun water had gotten under the stock tar stuff and surface rusted the pan.
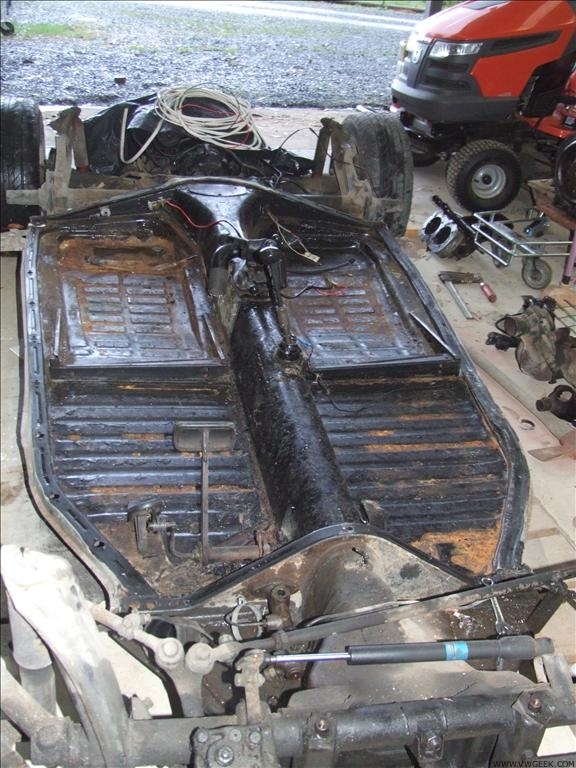
 

There she is sortof rusted but really its only skin deep, I went out and grabbed some rust converter from Bunnings pricey but well worth its weight in gold.
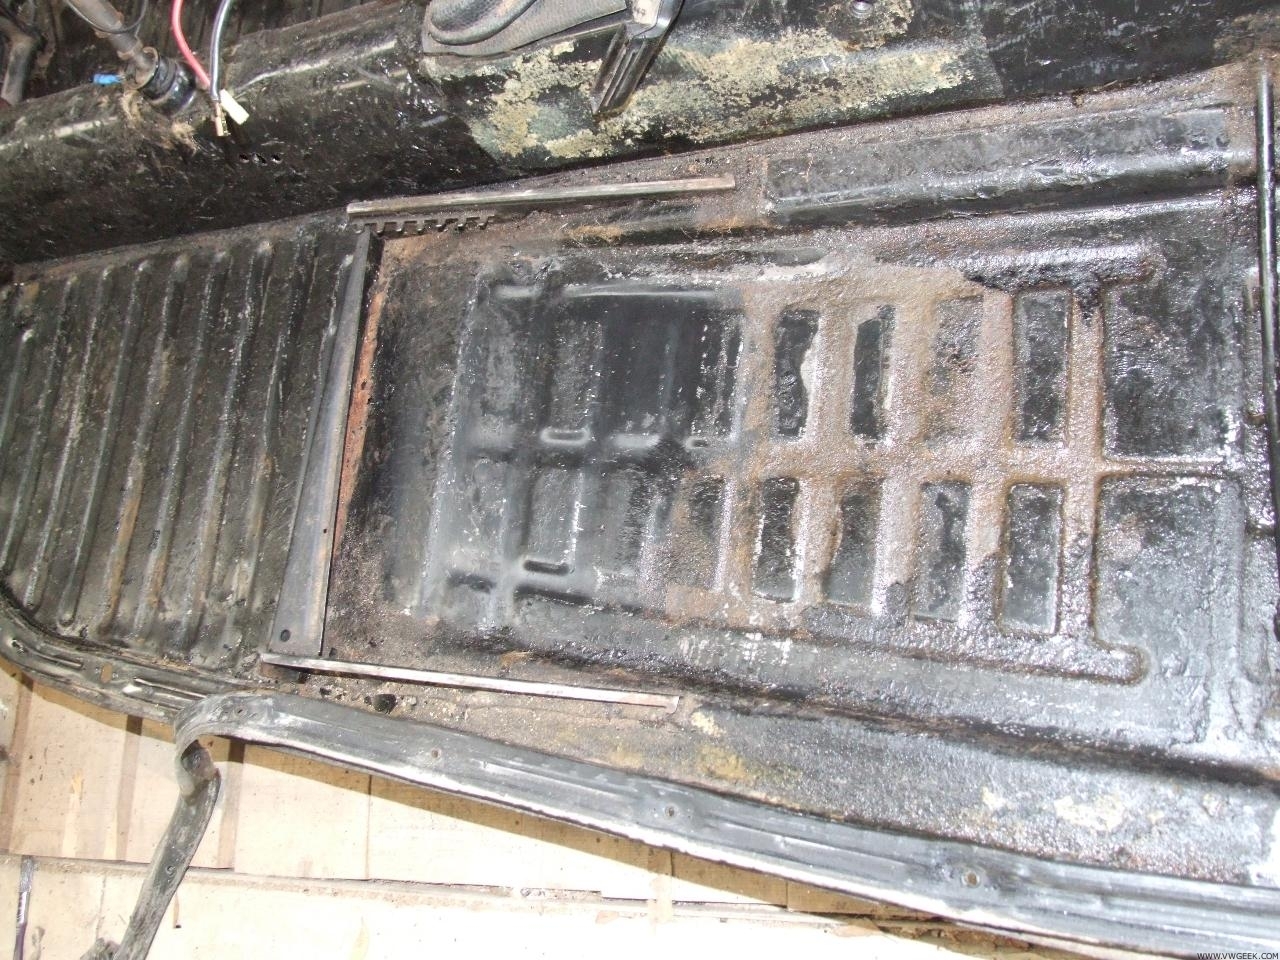
That’s about 30 minutes after i put the first lot of rust converter on, its fairly simple you rough the rust up then paint this on.
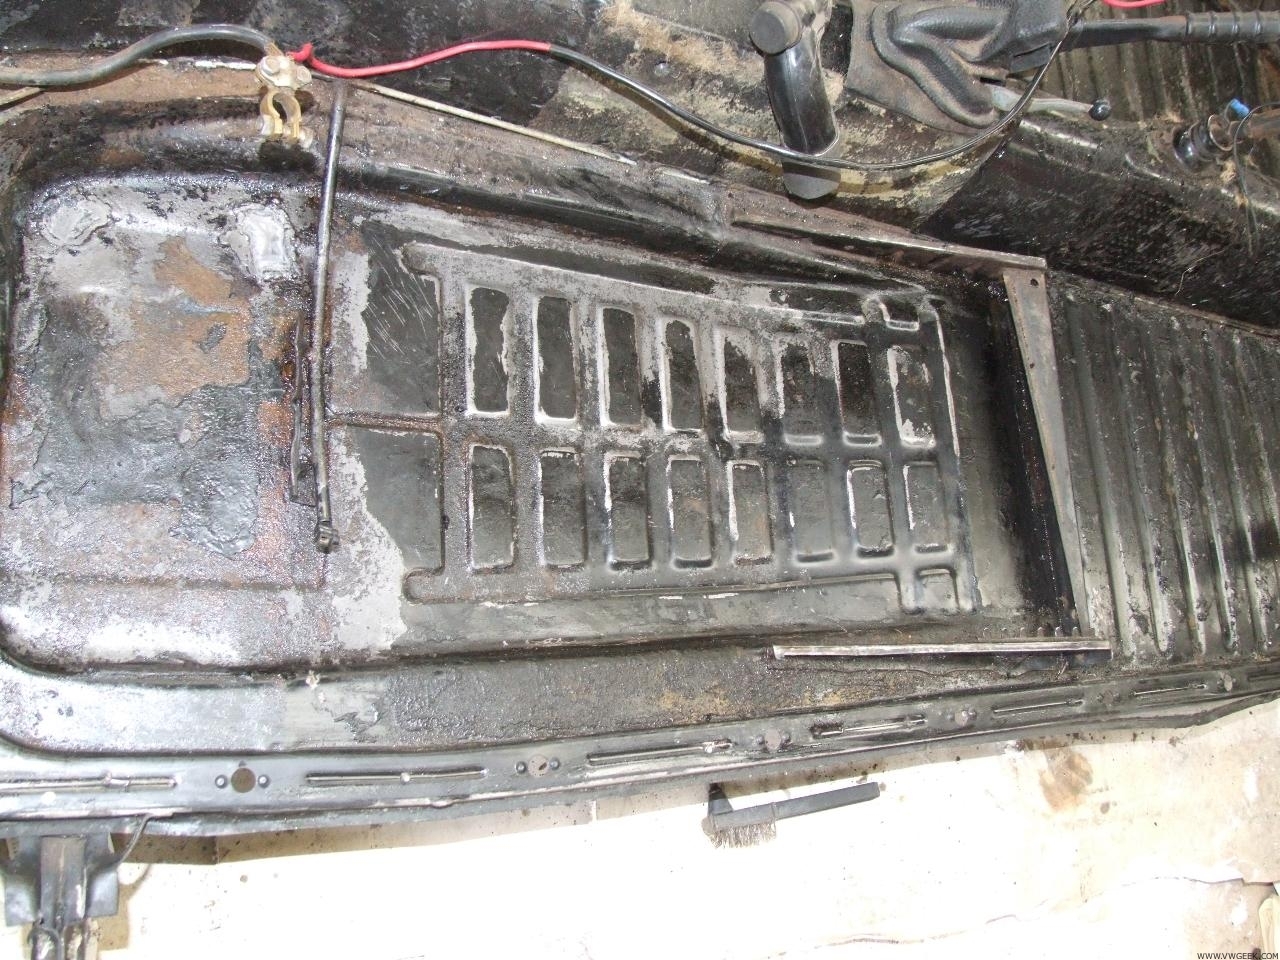
That’s the other side after the first coat dried and converted overnight looking pretty shmick, you can also see the great patch job done by my father on the holes bade from the battery acid.
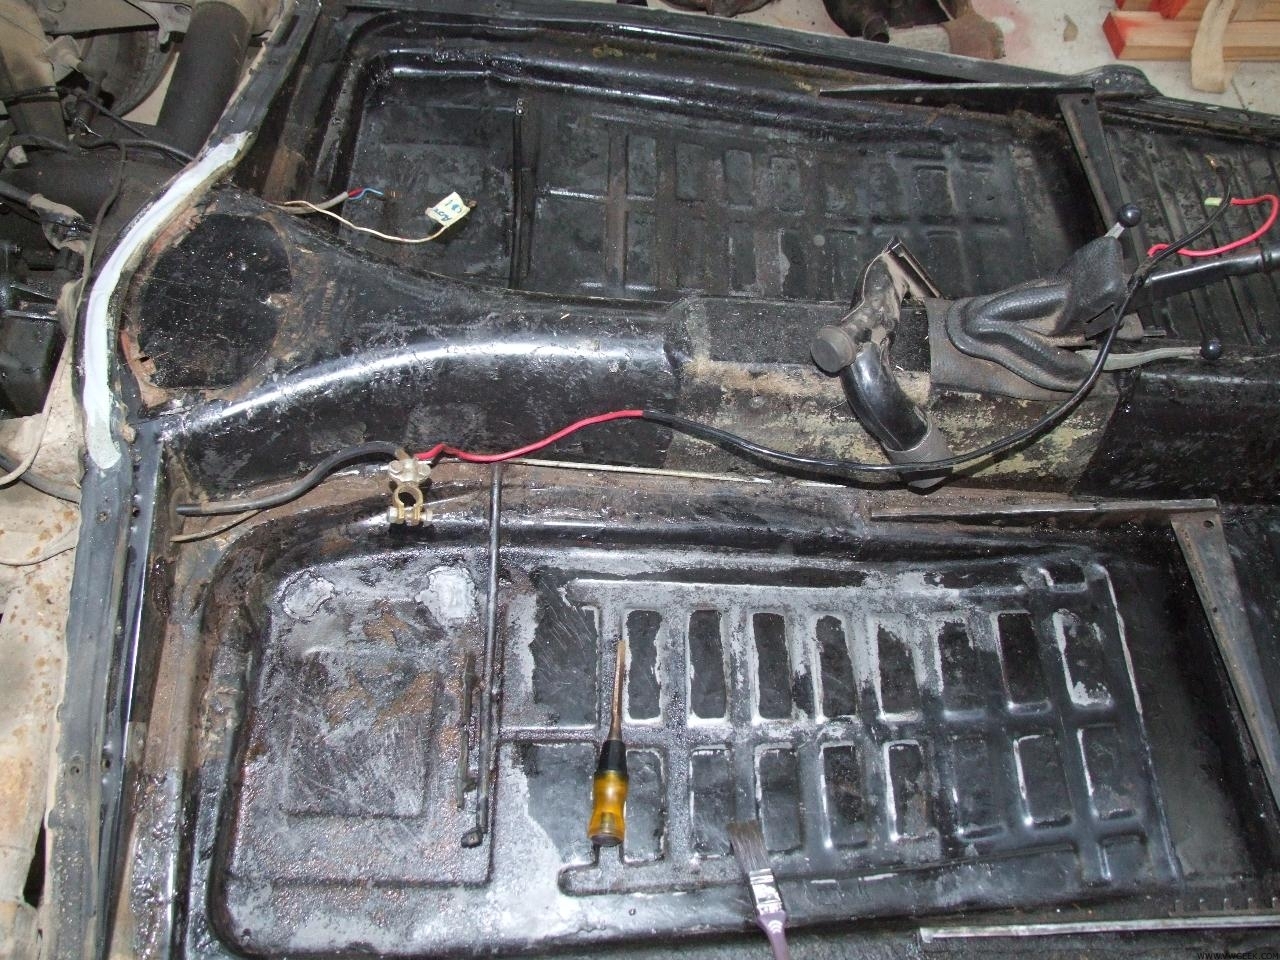
After the second coat, its just awesome (please note the stuff in the pictures that now looks like rust is red dust/dirt from those thatch rear seats.
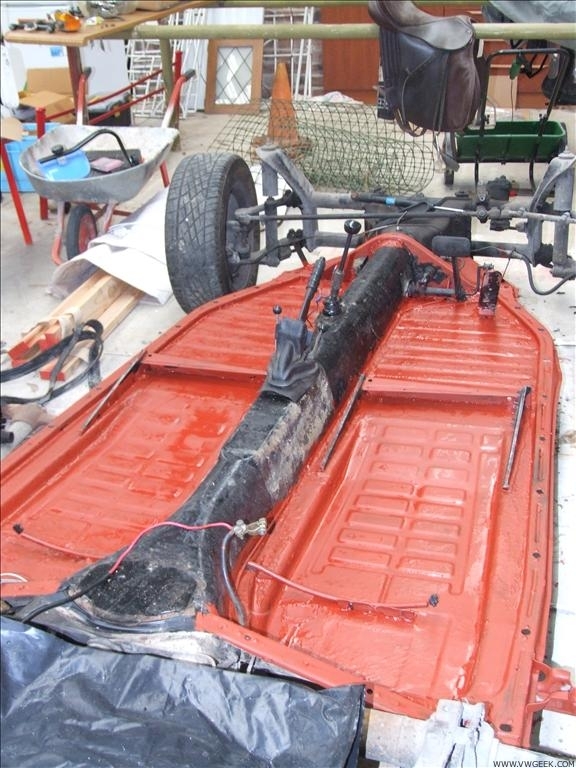
Now a lot of people would be like wtf is this red stuff (and other are what idiots don’t know what this red stuff is) Its red oxide, i actually used it on some problem spots on the bottom of one of the beetles doors and even though it still got wet etc i haven’t seen one spot of rust since. My father who was a boilermaker welder swearers by it as well. This is the first coat, there have been a few more coats since then and the seat rails have been painted black.

More pics and updates on this when I get back up the farm and have a chance to take some more pics.
Categories
Auto Stick Engine Suppliers Uncategorized

Motor out and pulling apart.

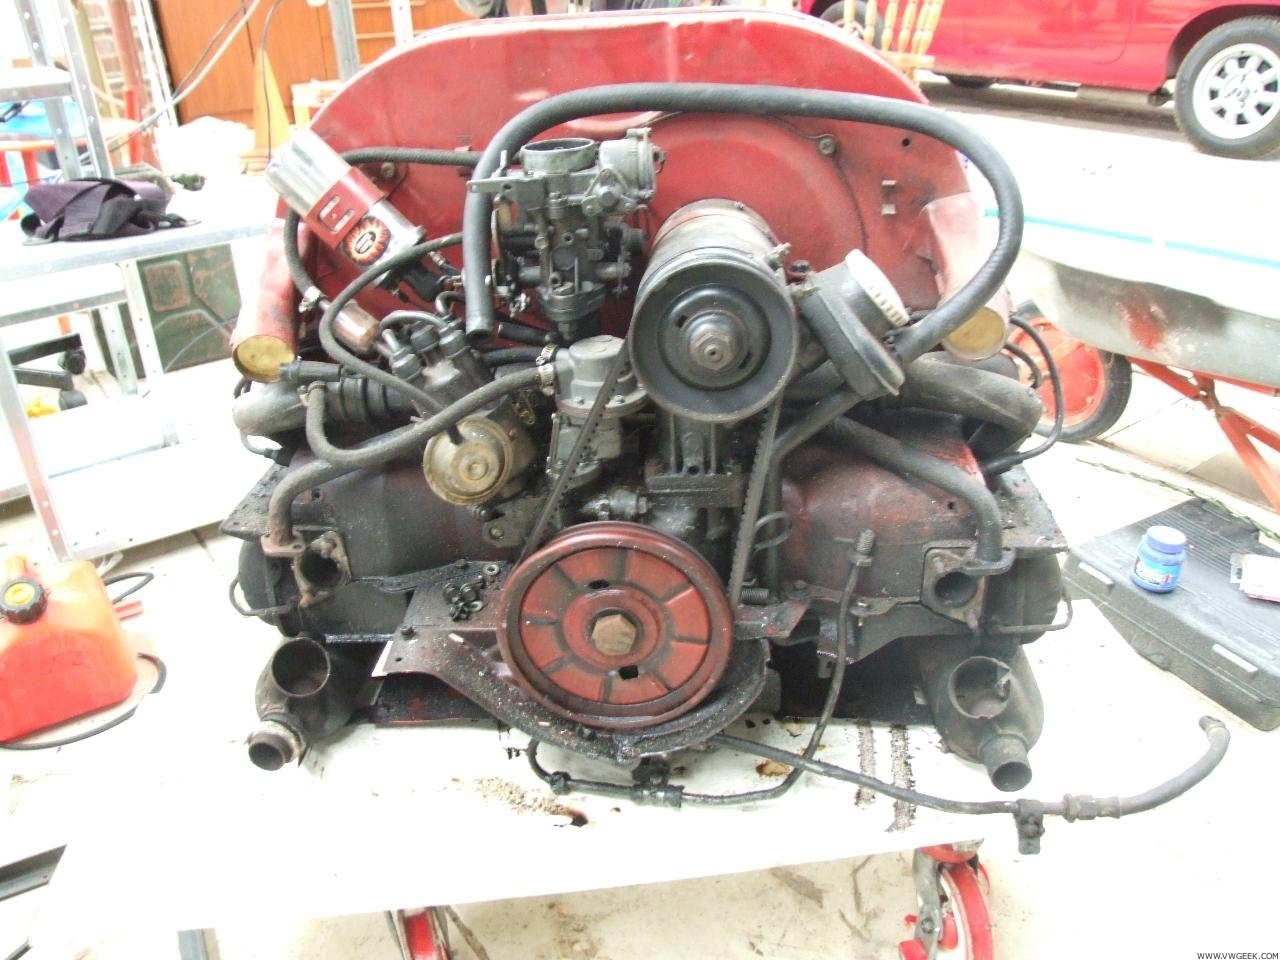
There she is, on the great trolley dolly.

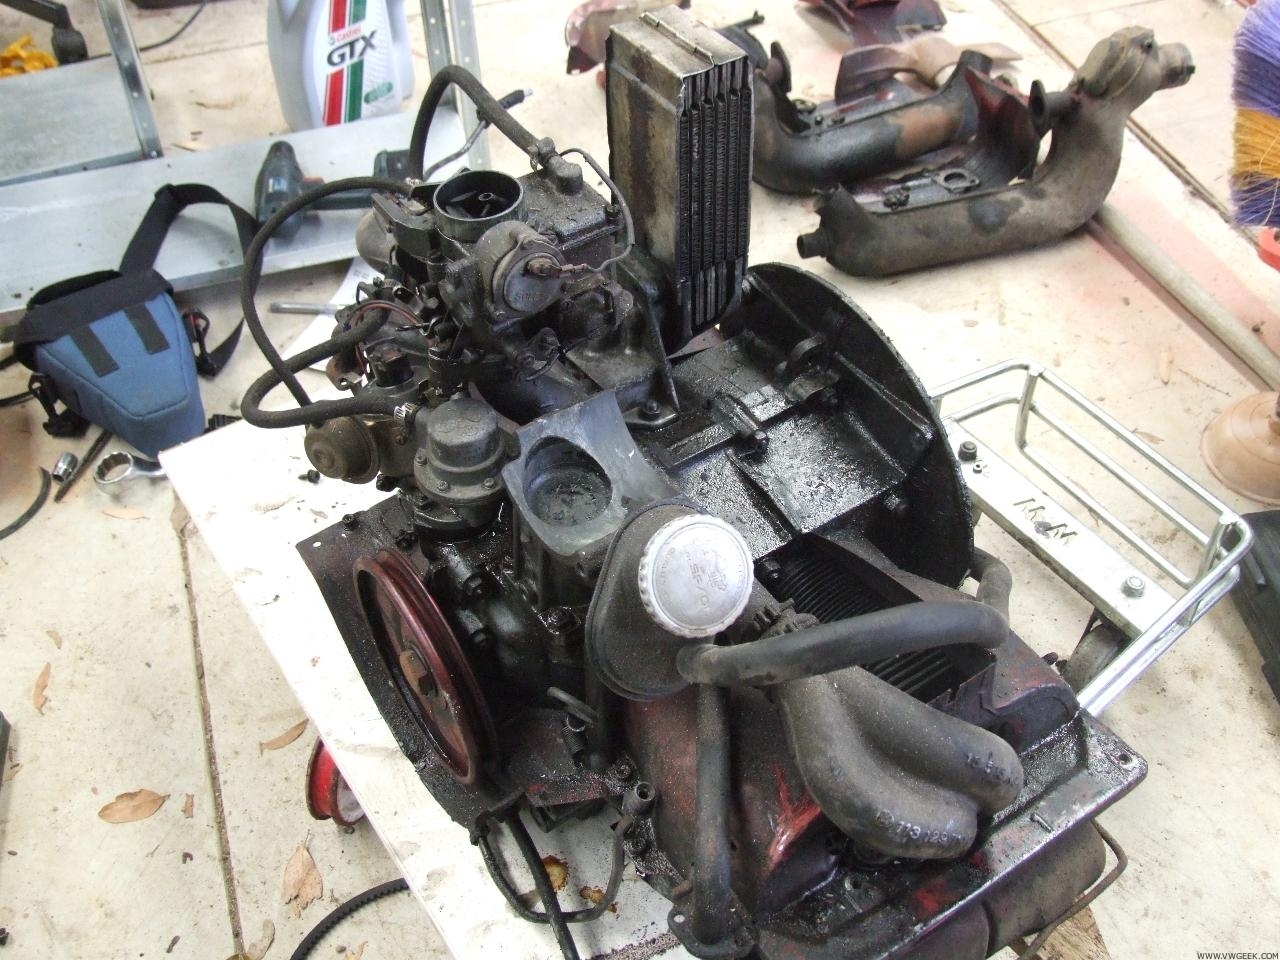
Tinware off, these photos arent just for you people out there they are for me so i can remember where everything went 😉

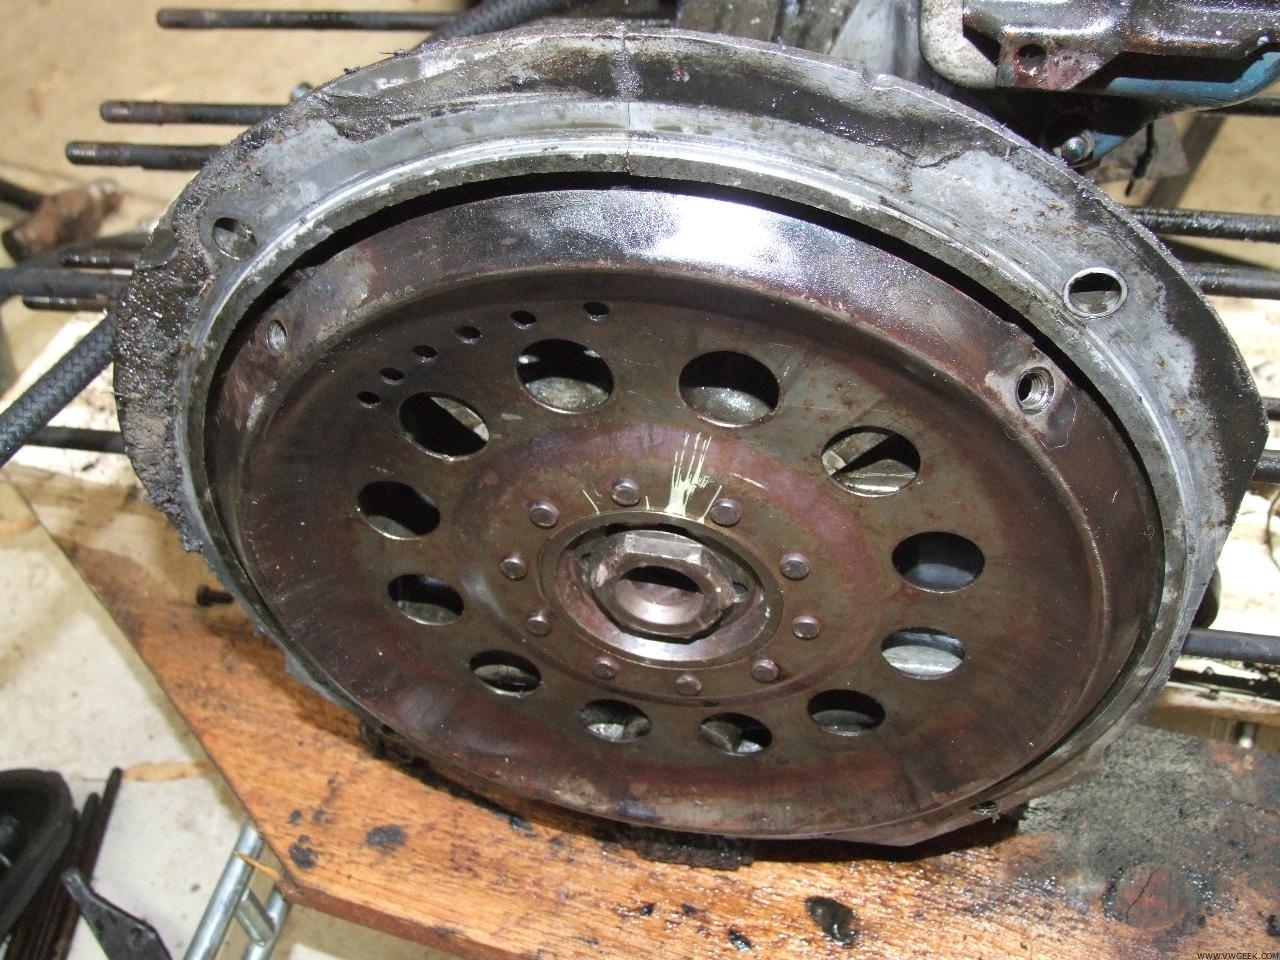
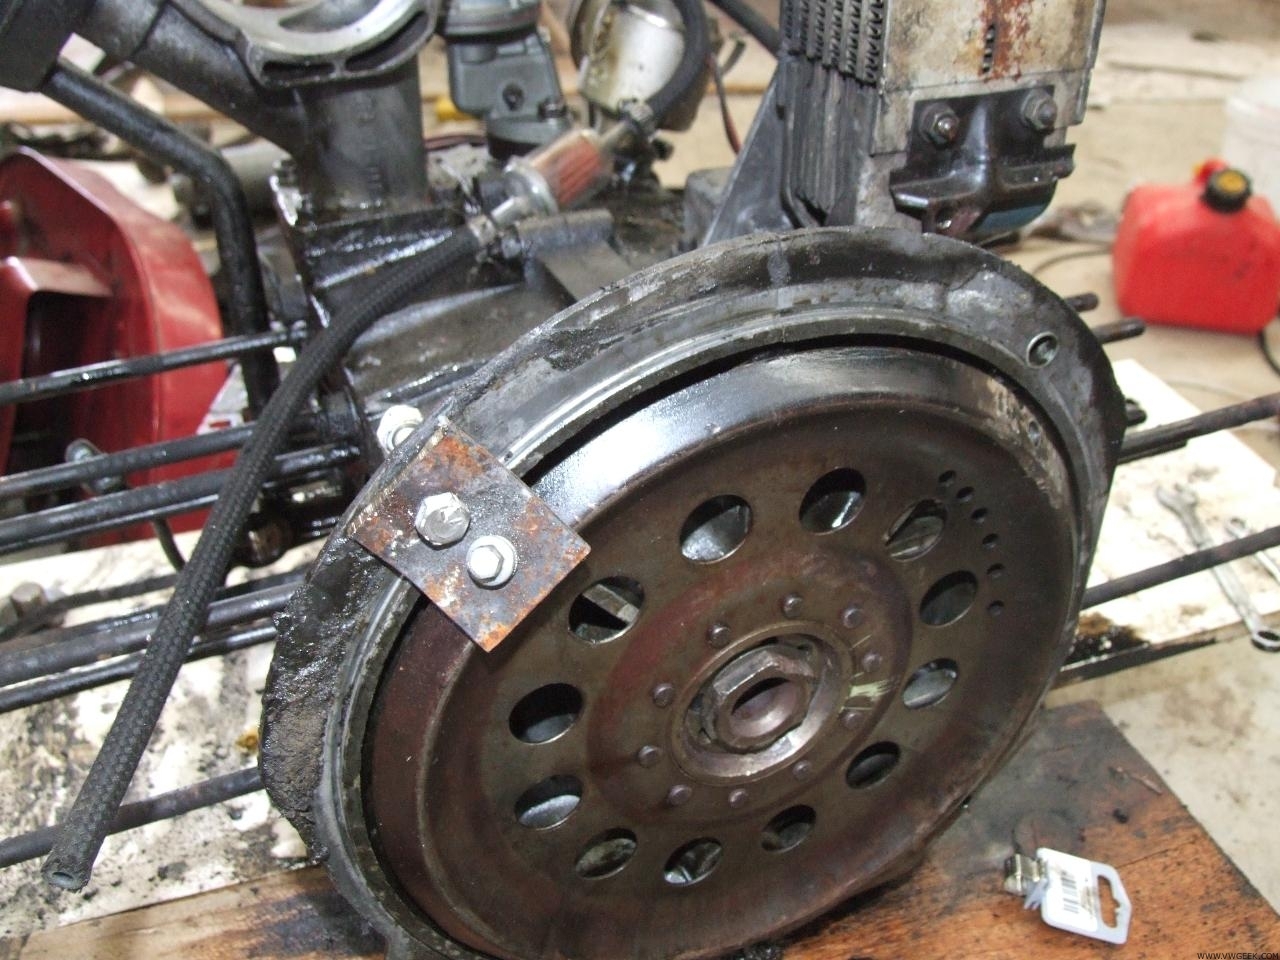
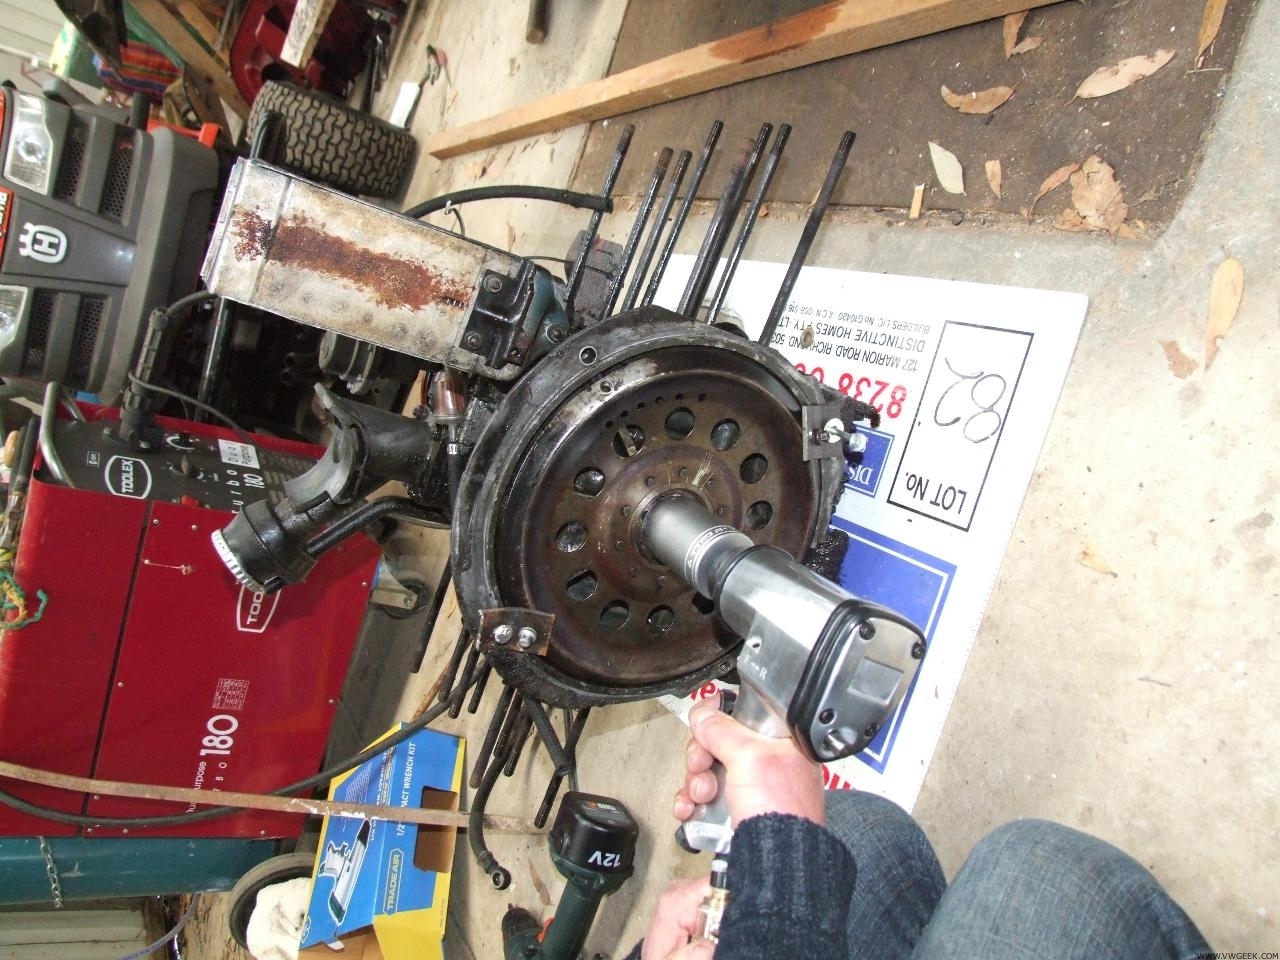
The infamous flex plate and its nut 36mm (grabbed the socket ordered in for me at sprint auto parts was only 25 bux). I found out that this is under 230 ft pounds of torque, so no normal torque wrench can undo it or even do it up. But first problem first, when the gland nut spins the whole flexplate spins, there exists an official tool to help you out here (i saw one for sale but it was $100usd) i decided to make my own.

So i used the original bolts that held the torque converter onto the plate and then just bolts that fit into the engine mount holes, I used 2 of them diagonally across from each other, but i would suggest maybe having 4 cause its fairly easy to bend and i almost did bend it.

Getting the gland nut off was killing me i couldn’t move it with 2 people helping (aka jumping on an extension for the ratchet), I decided to go out and buy a 1/2″ air ratchet (nice big bastard). I wasn’t sure if it would work we tried it and there was nothing, i went to the compressor and red lined the air, and sprayed WD40 on it with about a 30 second burst i saw the tiniest of movement, left if a few seconds and gave it a second go, pop off she came with much rejoicing.

At the same time i will talk about the supposedly easy removable pulley, i bought one of those pulley pullers after much searching, i gave it a go the puller creeked and the puller snaped in the middle, i thought “doesn’t anything happen the way it should” then i reminded myself its a VW. I grabbed 2 heavy duty G clamps and a big piece of flat steel, and started doing the clamps up, the metal bar bent, cut it in half and doubled it up and gave it a go and finally pop out it came.

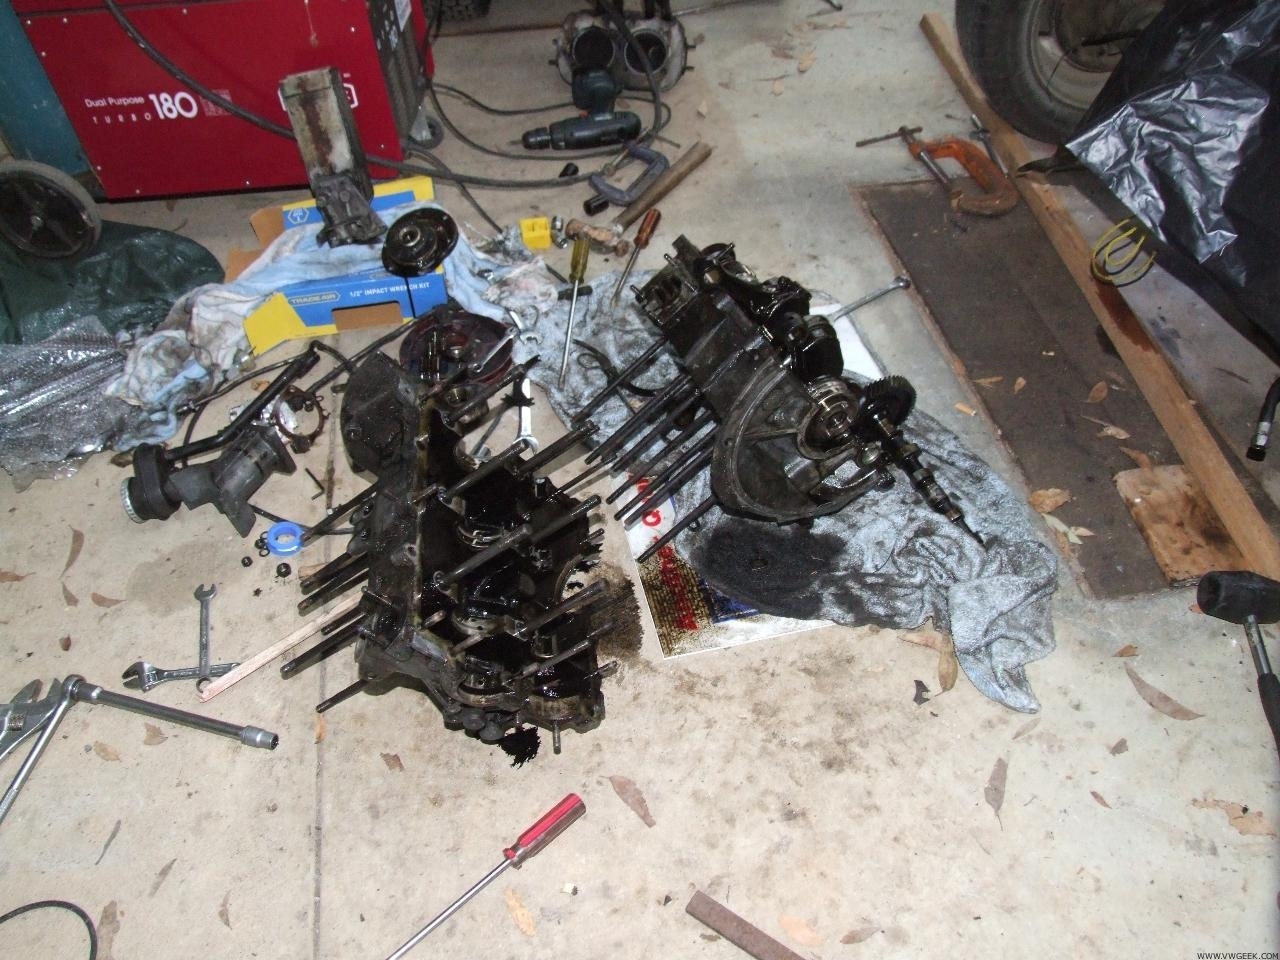
Finally in pieces, take note when pulling the automatic oil pump and normal oil pump out make sure you got both pieces out of the engine (other wise its a bit hard to pull the case apart. Also the oil strainer under the engine sump also appears to come out 😉

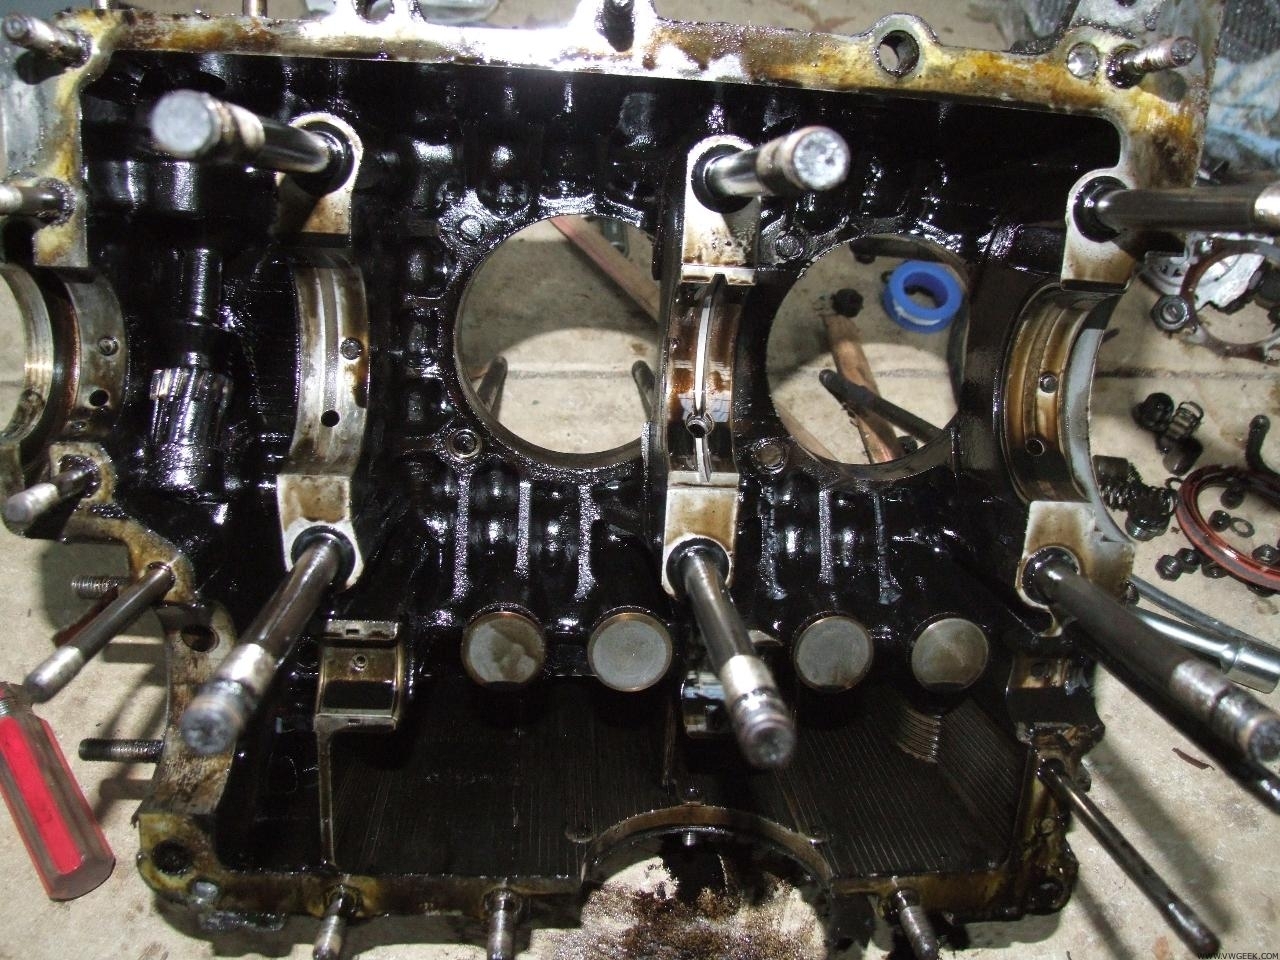
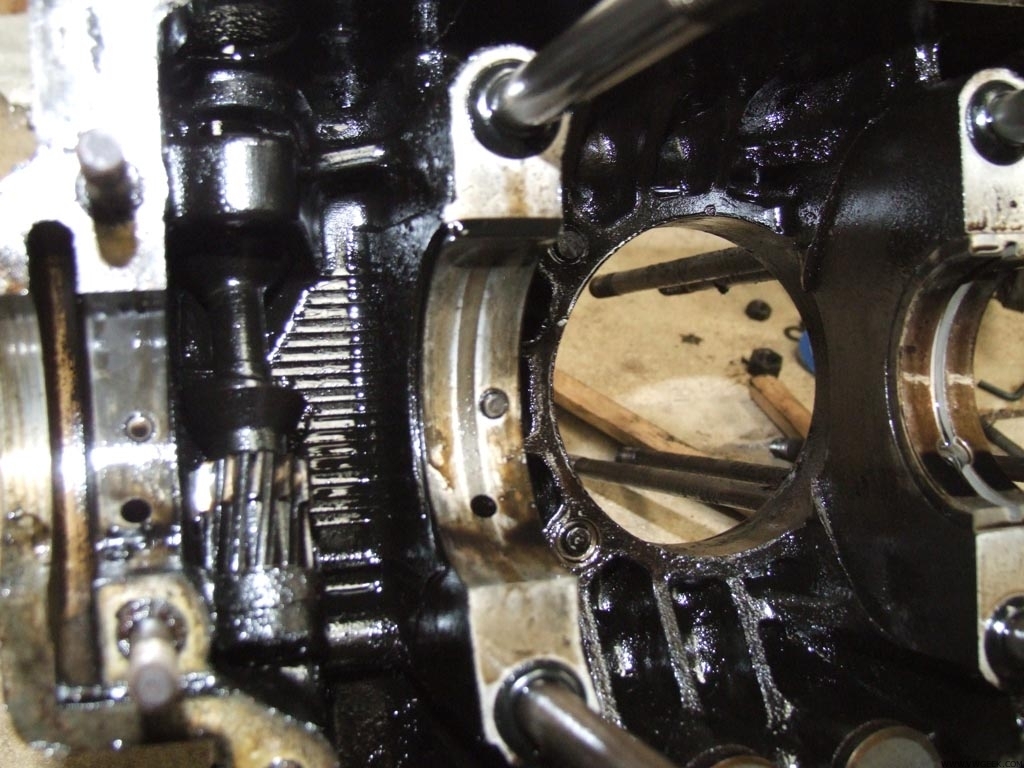
So this is the inside of the crank case where the bearings sit.. now the one on the LHS is worrying me and looks fairly worn. 

Now am i looking for a reconditioned case? or can i grab some fine wet/dry sandpaper and carefully take it back a bit? Any help would be great.

That’s all for now, several cool new topics on there way.